
Wednesday, June 6, 2012
Saturday, May 26, 2012
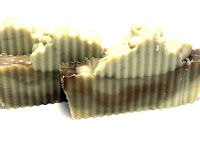
Winners of Coconut Cream Soap & Soy Cuticle Stick
 I just want to give a big CONGRATS to the winners of this past giveaway!
1st Place: Courtney Tucker
2nd Place: Sml Footprints
Thank you everyone for entering and participating. I appreciate everyone's support! Please keep checking back for more goodies & giveaways.
Sunday, April 29, 2012
Enter to win
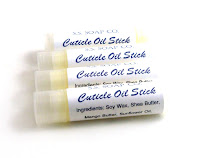
Here is a brand new giveaway for you all! This time there will be 2 winners: First place will win a Coconut Cream Soap & Second place will win a Cuticle Oil Stick. Good Luck!

Sunday, April 15, 2012
Great New Article About S.S. Soap & Body
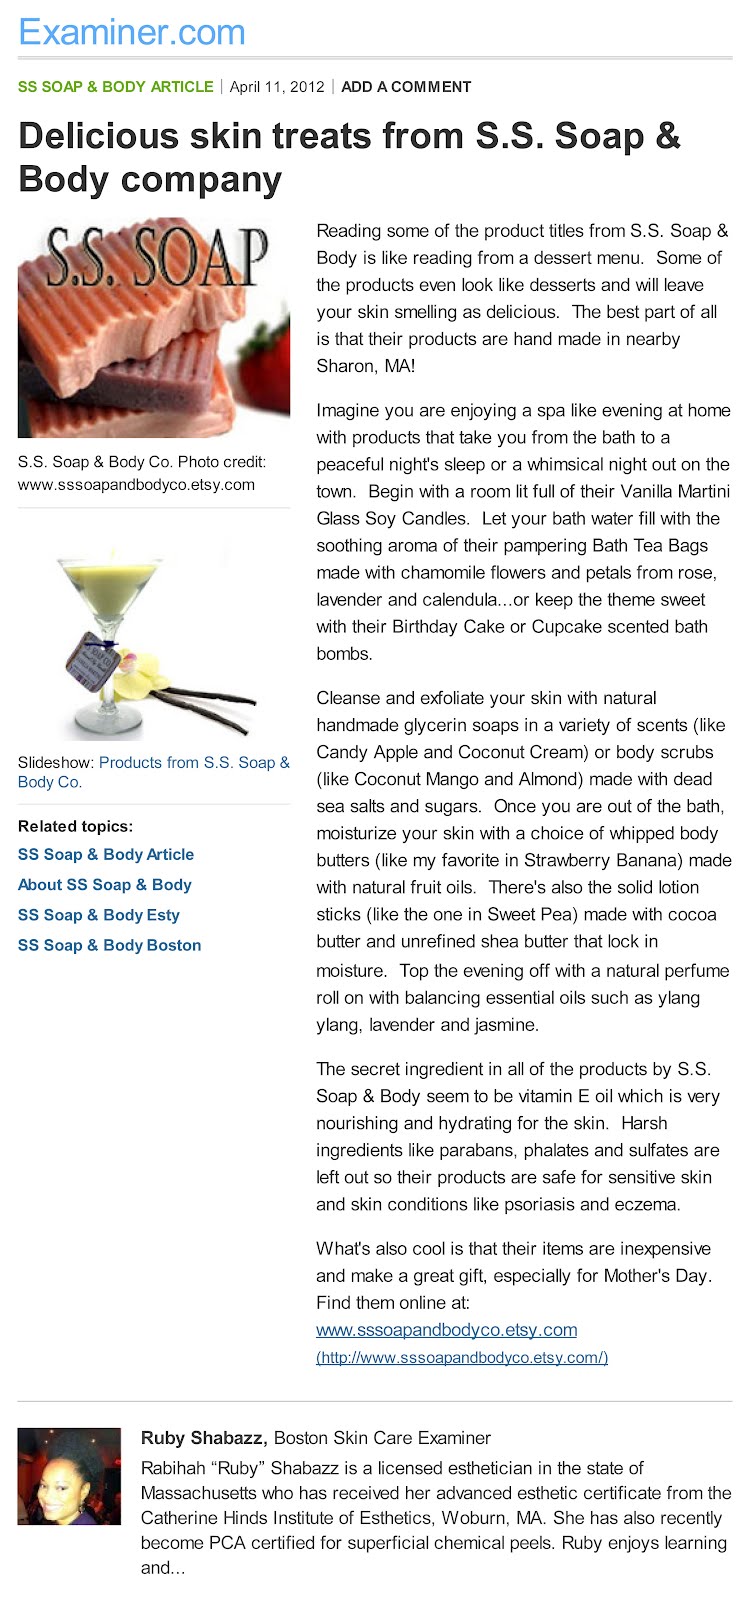
Ruby Shabazz at examiner.com wrote an amazing article & review about S. S. Soap & Body Co! Please check it out!
Saturday, March 31, 2012
Pretty Pale
I love show casing all of the amazing talent I get to surround myself with on etsy. There are some great gift ideas in this new treasury I created today.
Friday, March 30, 2012
Cupcake Bath Bombs in Action
Here's a quick video of my Cupcake Bath Bombs in action. It actually went on fizzing for MUCh longer but I shortened the video so it doesn't go on forever.
Sunday, March 25, 2012
Perfect Pedicure
 If you have ever had a pedicure you know how luxurious and relaxing it is. I want to show you how you can have the same thing at home. It takes a little time but it you are worth it! It is amazing how good you feel when your feet are properly cared for.
1. Soak feet for about 15-20 minutes in a warm bath with bath salts. Depending on how your feeling you can try my Eucalyptus Mint Bath Salts to refresh and help clear sinuses or my Lavender Bath Salts for a relaxing and soothing result.
2. Use a nail brush to really clean under each toenail.
 3. Use a wet pumice stone or exfoliating scrub to gently rub dry rough skin off of soles and heels.
4. Trim toenails after soaking them You will get a cleaner cut this way. Cut the nails straight across to avoid ingrown toenails.
5. Now that you are done soaking feet. Use a good cuticle cream (my all time favorite is our Luxurious Cuticle Oil Stick) and massage into toenails and gently push back cuticles on each nail with cuticle stick.
 6. Massage a rich moisturizing cream, like any of our Cracked Heel & Hand Balm, into each foot. Then wrap your feet in plastic wrap and elevate for 15-20 minutes. If this is an evening pedicure put on cotton socks and leave on all night.
Your feet and body will feel amazing. Besides before you know it summer will be here and is will be especially important to keep your feet looking and feeling great!
Friday, March 23, 2012
Thursday, March 22, 2012
Monday, March 19, 2012
Benefits Of Shea Butter
 There are so many great benefits of using shea butter on your skin. It's extracted from the nuts of the African Shea Tree. It contains vitamins A, E & F along with other vitamins and minerals. It is anti-inflammatory and antimicrobial. It is easily absorbed into skin and does not clog pores. It has been shown to help with dry skin, sores, scars, dermatitis, psoriasis, eczema, dandruff, and stretch marks.
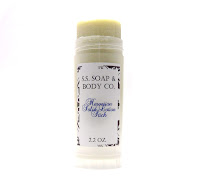
Wednesday, March 14, 2012
Painted Wall Paper


Thursday, March 8, 2012
Giveaway Winner
Sorry it took so long to announce. We are finally repairing our basement so it's been a little crazy. So here it is:
The Winner Is:
Kristina Stone
Thank you so much to everyone who entered. Please keep checking back we'll have more giveaway's soon!
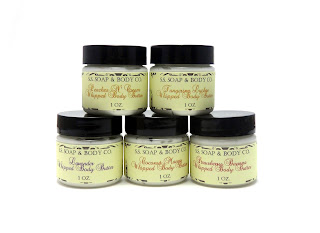
I also wanted to let everyone know about the whipped body butter sample sizes I am now selling. If your interested in trying one but are nervous about the scent or texture now you can try a sample size. Try one or all!

I also wanted to let everyone know about the whipped body butter sample sizes I am now selling. If your interested in trying one but are nervous about the scent or texture now you can try a sample size. Try one or all!
Saturday, February 25, 2012
The Look Store


Also if you happen to check out the look store check out their Look Bag subscription. It is a really cool monthly subscription for luxury beauty product samples sent straight to your door every month. This past February featured my Gingerbread Caffeinated Soap in little heart shapes for Valentines Day. So if you subscribe you may get to try our products!
BeautyMakeUpandMore's You Tube Video shows what was in the february box and also shows how she liked the Gingerbread Sample.
Sunday, February 12, 2012
Giveaway: Win A Full Size Candy Apple Soap & Cherry Lip Balm


Enter below for a chance to win one of our Cherry Lip Balms and one of our Candy Apple Soaps!
Monday, February 6, 2012
Tutorial: Make A Light Box
 I finally decided to try making my own light box and I am SO happy I did! It made such a huge improvement in my photos. So I decided I would try to share it with you! It's really easy and completely worth it.
What you need:
Cardboard box
Tape
White Tissue Paper
White Posterboard
Box Cutter
Scissors

2. Make sure the bottom flaps are taped up well. I applied a second layer off tape here.
3. Lay the box on it's side. (The bottom of the box becomes the back of your light box.)
4. Cut off the front flaps.
 5. Leaving about 1 inch around the perimeter carefully cut out a square on the 2 sides and the top.
6. Cut a piece of tissue paper to fit over each of the openings you cut and tape to the edges of each side.
7. Cut the poster board to fit inside your box. This will be your backdrop. I taped the top of the poster board to the back of the box so it stays put.
 8. Add light. You can put lights wherever you like. Above, or on one or both sides to create the effect you want. Just make sure not to get the light too close to the tissue paper or it will burn!
You may want to have an extra white poster board just in case one of your pets decides to climb in like my kitty did. She made a good model though.
Let me know if you try this and tell me how it comes out. I'm in love with mine!
Sunday, January 1, 2012
Natural New Year
Happy New Year everyone! Thanks again to all of my wonderful customers for making this past year a great one!
I wish you all a happy and healthy 2012!
I wish you all a happy and healthy 2012!
Subscribe to:
Posts (Atom)